Quickstart
The terminal is the front door. One command scans your codebase and puts your product's journey map on a live canvas. From there you create autopilots on your workflows, certify them with synthetic users, and ship them through a pull request.
1. Run the CLI
In the repository of the app:
Requires Node 20+. The CLI signs you in with a device flow: your browser opens, you confirm, and the terminal continues. New here? The same flow creates your account and workspace.
2. Scan
The scan agent reads your code the way an engineer would: routes, components, workflows, and the copy your users actually see.
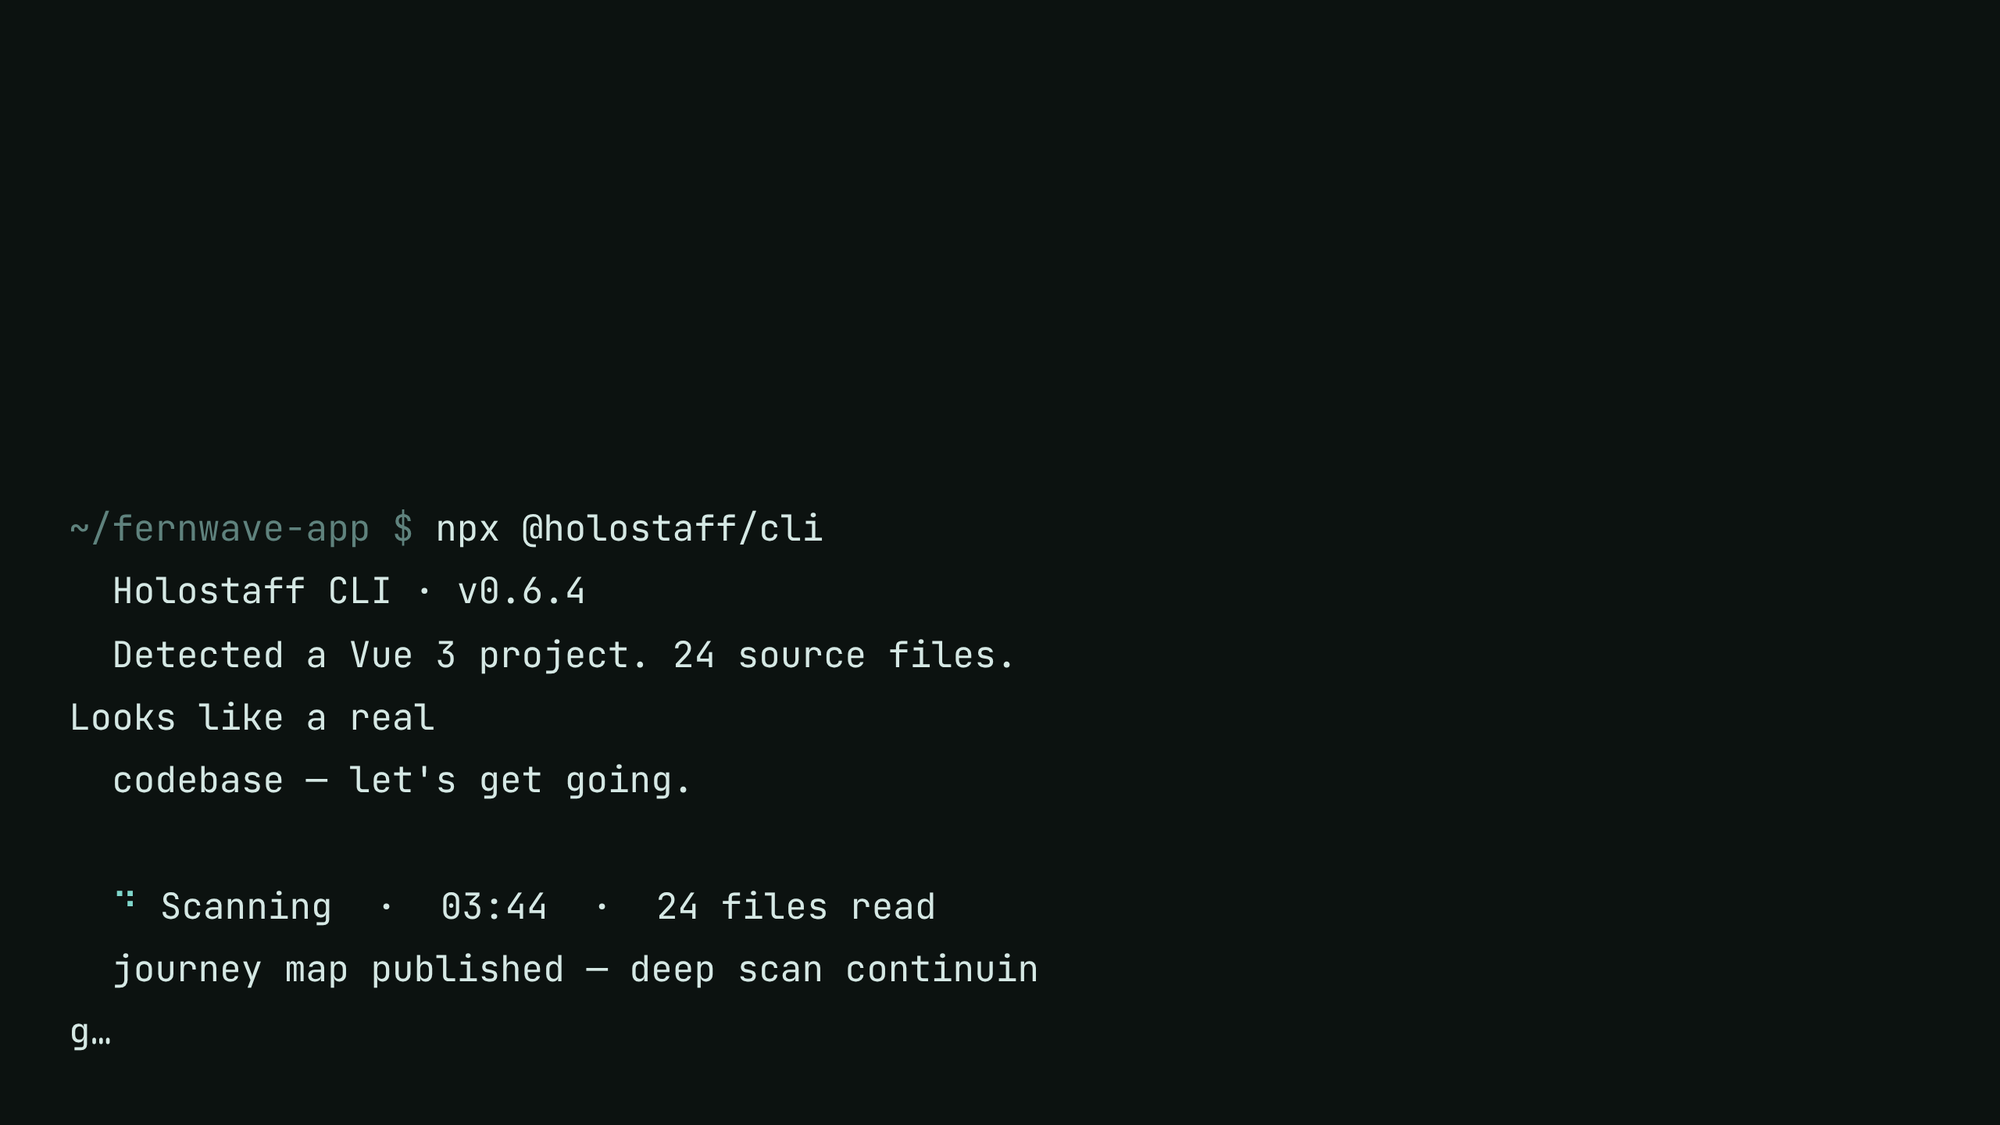
The scan runs in two phases:
- Skeleton. The structure of your journey map (routes, components, workflows with stages) is published the moment it is coherent. Your map is live in about 90 seconds.
- Deep pass. The agent keeps working: risk moments, handover candidates, signals, copy strings, brand voice. The finished artifact lands as a second version while you explore the map.
Before anything uploads, a trust report shows exactly what will be sent. Your source code stays on your machine; only the structured artifact goes up. See what leaves your machine.
3. Open your map
When the skeleton lands, the CLI prints your workspace URL. From there the path is the lifecycle:
- Explore the Journey Map. Every workflow the scan found, with risks flagged.
- Meet your synthetic users. Personas drafted from your scan; they will rehearse everything.
- Create an autopilot. Pick the workflow users dread and click Certify.
- Deploy through a PR.
npx @holostaff/cli deployopens a pull request your engineers review. - Verify. Watch handovers land, each one logged and counted only when complete.
A scan is not a deploy
Scanning makes your map live in the dashboard. Nothing changes in your product until the deploy PR merges and a certified autopilot's toggle is on.